
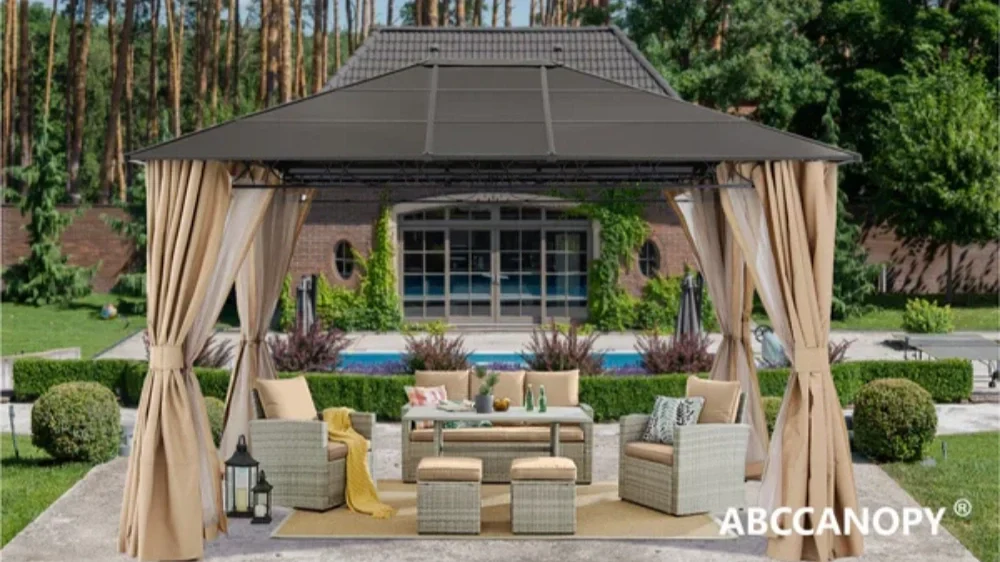
📦 Package Contents
-
Metal frame parts (4× posts, beams, braces, top frame parts)
-
Single-layer steel roof panels
-
Mosquito netting set (with zippers)
-
Privacy curtain set
-
Decorative top cap
-
Hardware kit (screws, nuts, washers)
-
Tool kit (including Allen wrench)
-
Installation manual
🛠 Installation Steps
Step 1: Prepare the Site and Parts
-
Select a flat, solid surface free from obstacles.
-
Unpack, count, and categorize all parts according to the manual.

Step 2: Assemble the Posts and Base Plates
-
Attach the 4 posts to the base plates using screws.
-
Use a level to make sure each post is vertically aligned.

Step 3: Install the Bottom Frame
-
Connect the posts using horizontal beams to form a square base frame.
-
Install diagonal braces to enhance structural stability.

Step 4: Assemble the Top Frame
-
Connect the main beams and diagonal beams to form the roof skeleton.
-
Ensure all joints are secured with screws.

Step 5: Install the Roof Panels (Single Layer)
-
Starting from one side, place each steel roof panel onto the roof frame.
-
Secure each panel with screws, ensuring alignment to avoid gaps.

Step 6: Install the Decorative Top Cap
-
Place and secure the top cap at the center of the roof for both stability and aesthetics.

Step 7: Install Mosquito Netting and Privacy Curtains
-
Slide mosquito netting hooks into the inner track, ensuring smooth open/close.
-
Install privacy curtains on the outer track for extra shading and wind protection.

Step 8: Final Check and Reinforcement
-
Check that all screws and connections are tightened.
-
In windy areas, use ground stakes or additional weights for better stability.
✅ Usage & Maintenance Tips
-
Recommended assembly with 4 people.
-
Regularly check and tighten screws and connections.
-
In case of severe storms or heavy snow, temporarily remove the roof panels to extend lifespan.
-
For cleaning, use warm water and mild detergent — avoid harsh chemicals.