
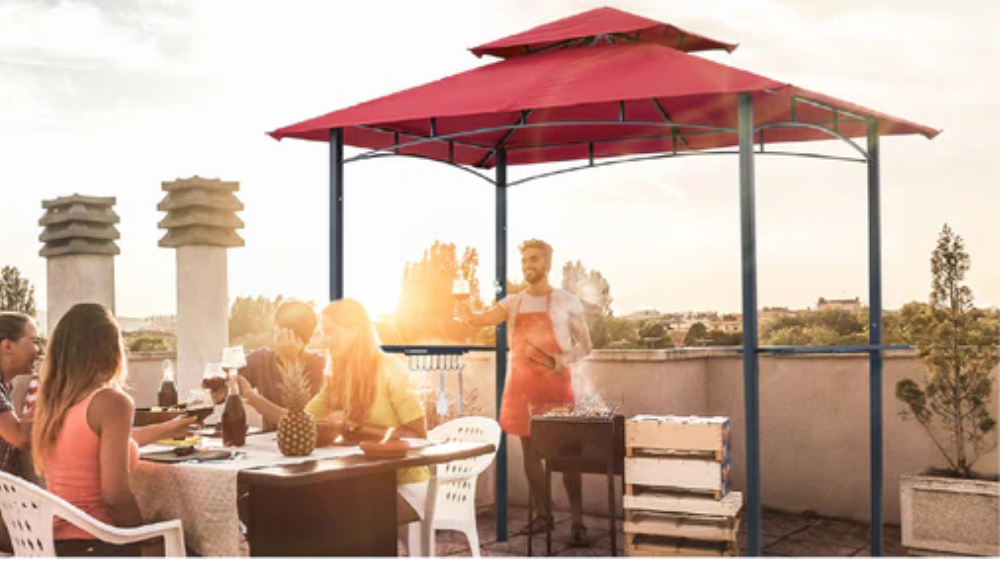
📦 Package Contents
-
4 × Single-section square steel posts
-
1 × Roof frame set
-
1 × Metal roof panels set
-
2 × Side shelves
-
1 × LED light set
-
Hardware kit
-
Instruction tools (Allen key, wrench)
🛠 Assembly Steps
Step 1 – Preparation
-
Select a flat, stable surface for installation.
-
Unpack all parts, check against parts list.
-
Recommended: 2–3 people for assembly.

Step 2 – Install Upright Posts
-
Position the 4 square steel posts upright at the corners.
-
Secure to the ground with the included base plates and screws (do not fully tighten yet).
-
Ensure all posts are vertical.
Step 3 – Connect Top Frame
-
Attach the front and back horizontal beams to the posts.
-
Add side beams to form a rectangular top frame.
-
Insert middle support beam for roof stability.
-
Tighten all bolts securely.

Step 4 – Install Roof Panels
-
Place metal roof panels symmetrically from one side to the other.
-
Align screw holes and fasten with bolts/washers.
-
Ensure both roof sides meet at the top ridge for full coverage.

Step 5 – Add Side Shelves
-
Attach two side shelves onto the posts using brackets.
-
Shelves should be level and securely tightened – ideal for placing BBQ tools, plates, or drinks.

Step 6 – Install LED Light
-
Fix the LED light under the roof center beam using provided clips/brackets.
-
Ensure the power switch and wiring are properly arranged.
-
Test the light before final tightening.

Step 7 – Final Adjustment
-
Tighten all screws and bolts.
-
Check that the gazebo is stable and level.
-
Secure the gazebo to the ground with expansion bolts or extra weights for safety, especially in windy conditions.
✅ Maintenance Tips
-
Regularly check and tighten screws after use.
-
Wipe the metal frame and shelves with a damp cloth to prevent rust.
-
Do not let heavy snow accumulate on the roof.
-
Store the LED light indoors when not in use for long periods.