
📦 What’s Included
-
1 × Folding steel canopy frame
-
1 × Canopy top cover
-
1 set of stakes and ropes
-
1 × Carrying bag
-
Optional: Sandbags, sidewalls (depending on model)
🛠️ Installation Steps
Step 1: Unfold the Frame
-
Take the folded canopy frame out of the carrying bag and place it on flat ground.
-
With two people standing at opposite corners, slowly pull the frame outward until it is half open.

Step 2: Place the Canopy Top
-
Unfold the canopy top cover and drape it over the partially opened frame.
-
Align the corners with the top of the frame.
-
Secure the canopy top to the truss bars and corners using Velcro straps.

Step 3: Fully Expand the Frame
-
Continue pulling the frame outward until it fully opens and locks into place (you’ll hear a “click”).
-
Push up the center slider mechanism from underneath until it clicks and lifts the roof.

Step 4: Adjust the Height
-
Press the push buttons on each leg and raise the legs to your desired height setting (usually 3 levels).
-
Ensure all legs are extended evenly and fully locked.

Step 5: Secure the Canopy
-
Use the included ground stakes to anchor each leg.
-
Tie down the included ropes from each corner to the ground for added stability.
-
If provided, attach sandbags around the legs to increase wind resistance.
✅ Helpful Tips
-
Always set up with at least 2 people for safety and efficiency.
-
Avoid setting up in strong wind or heavy rain.
-
Always dry the canopy top before storage to prevent mold or mildew.
-
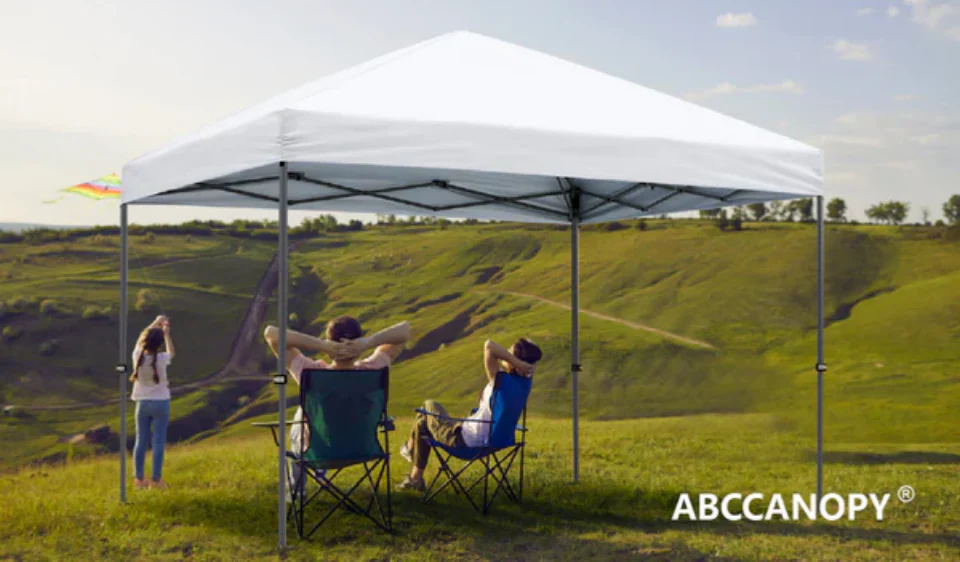
Ideal for flat surfaces such as grass, campgrounds, beaches, or concrete.
Explore more ABCCANOPY’s Products:
10x10 Canopy | 10x10 Custom Canopy | Custom Canopy | Pop Up Canopy | Canopy Tent | Canopy Accesories | Gazebo
Canopy By Size:
6x6 Canopy | 6.6x6.6 Canopy | 8x8 Canopy | 8x12 Canopy | 8x16 Canopy | 10x12 Canopy | 10x15 Canopy | 10x20 Canopy | 12x12 Canopy | 13x13 Canopy | 8x8 Custom Canopy Tent | 10x10 Custom Canopy Tent | 10x15 Custom Canopy Tent | 10x20 Custom Canopy Tent
1 comment
Patricia Austin
I am so discouraged . I don’t have enough strength to push center up to click. Almost, less than an inch before the red clips would latch on. I have tried many times. Now trying to think of a way to get more leverage on it so could push up to secure it. Any advise? I live alone so have no one to help me.