
📦 What’s Included
-
1 × Heavy-duty steel folding frame
-
1 × Main canopy top
-
1 set of awning parts (round rods, square rods, ropes)
-
Removable sidewalls (with mesh windows and zippered doors)
-
Ground stakes & tie-down ropes
-
Wheeled carrying bag
🛠️ Installation Steps
Step 1: Expand the Frame
-
Remove the folding frame from the wheeled bag.
-
With two people standing at opposite corners, pull the frame outward until it is halfway open.
Step 2: Attach the Canopy Top
-
Drape the canopy top over the half-opened frame.
-
Align all four corners.
-
Secure the top to the truss bars and corners using the Velcro straps.

Step 3: Fully Expand the Frame
-
Continue pulling from opposite corners until the frame fully locks into place.
-
From underneath, push the central slider hub upward until it clicks.

Step 4: Adjust the Height
-
Press the leg push-buttons and extend all four legs evenly to the desired height (usually 3 levels).

Step 5: Assemble the Awning
-
Connect the round rods and insert them through the awning fabric sleeve.
-
Use the square rods and plastic clips to attach the awning support to the front canopy legs.
-
Insert the round rod ends into the square rod brackets to form the awning frame.
-
Tie the ropes from the awning edges to the main canopy for extra tension.

Step 6: Attach the Sidewalls
-
Secure the sidewalls to the frame using the Velcro straps.
-
Mesh windows can be opened for ventilation; the zippered door allows easy entry and exit.

Step 7: Secure the Canopy
-
Anchor each leg with ground stakes.
-
Tie down the corner ropes for added wind resistance.
-
For windy conditions, use sandbags for additional stability.
✅ Helpful Tips
-
Recommended to set up with 2 or more people for safety and ease.
-
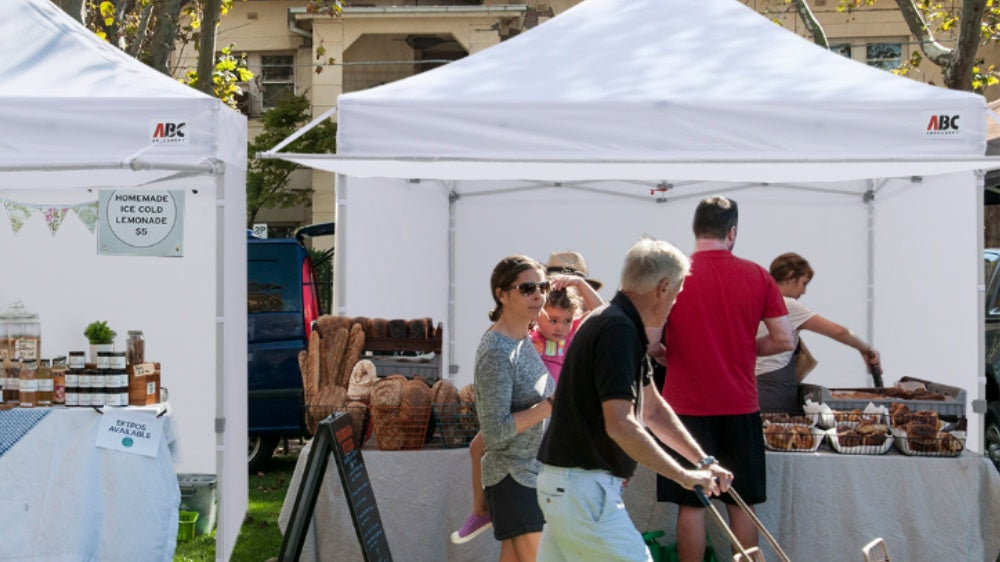
Perfect for trade shows, outdoor events, farmers’ markets, and more.
-
Do not use in strong winds or heavy rain.
-
Always dry the canopy top before storing to prevent mold.
-
For the 10x20 size, follow the same process, but it requires more space and 3–4 people for setup.
1 comment
Chris Peacock
I have a 10 × 10 commercial pop up tent I no longer have the manual. I think there is a part that goes on the end of the center poll very top that make contact with the tent. Also I’m not sure what the red crank at the bottom of the center poll does. Do you have a parts list and owners manual that you can send me. Thanks