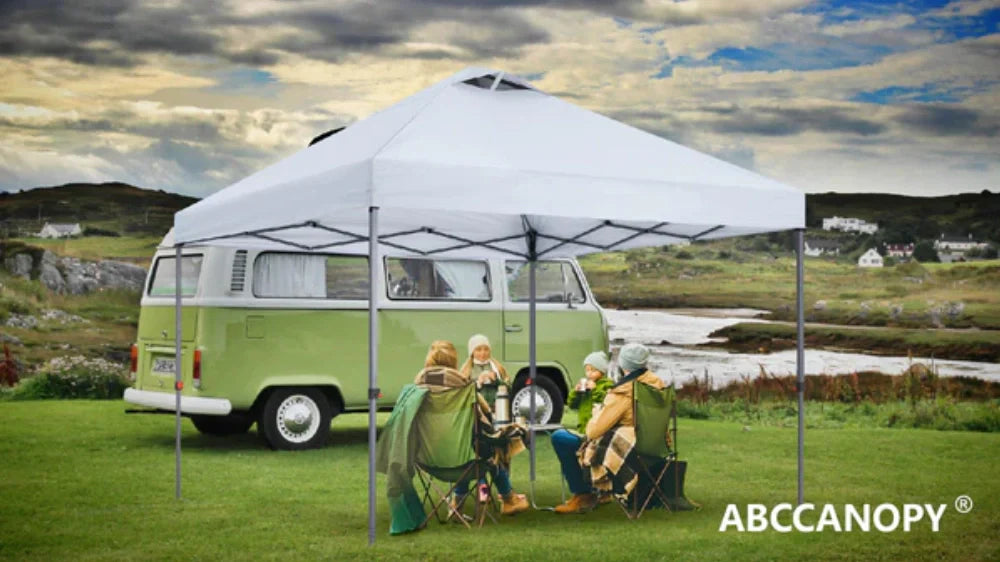
📦 What’s Included
-
1 × Heavy-duty folding steel frame
-
1 × Waterproof canopy top
-
1 set of ground stakes & ropes
-
1 × Wheeled carrying bag
-
Optional: Sandbags, sidewalls (depending on model)
🛠️ Installation Steps
Step 1: Unpack the Frame
-
Remove the folded frame from the wheeled carrying bag.
-
Place it upright on a flat, open surface.
-
Two people should stand on opposite corners and gently pull the frame outward until it’s halfway open.

Step 2: Place the Canopy Top
-
Unfold the canopy top and lay it over the partially opened frame.
-
Align all four corners of the fabric with the top corners of the frame.
-
Use the Velcro straps to secure the top to the truss bars and corners.

Step 3: Fully Expand the Frame
-
Continue pulling outward from opposite corners until the frame locks fully into place.
-
Push up the center slider mechanism from underneath until it clicks to secure the roof structure.

Step 4: Adjust the Height
-
Press the push-buttons on each leg and raise all legs evenly to your desired height (3 height options typically available).
-
Ensure all four legs are locked at the same level.
Step 5: Secure the Canopy
-
Use the included stakes to anchor each leg to the ground.
-
Tie the ropes from the canopy top corners to the ground for added wind resistance.
-
For extra stability, attach optional sandbags around the base of each leg.
✅ Tips for Safe Use
-
Always set up with 2 or more people for safety and efficiency.
-
Do not use in strong wind, heavy rain, or stormy weather.
-
Always dry the canopy top before storage to avoid mold.
-
Avoid using ground stakes on uneven or soft ground like mud or loose sand.

